Honestly, I was a skeptic. For years, I didn’t take french press coffee seriously. Most of the coffee I’d been served from a french press wasn’t very good. It wasn’t bad – certainly better than an automatic drip machine – but also not as good as coffee prepared with a ceramic dripper or in a Chemex.
Recently, though, I’ve become a believer. It turns out that if you’re using freshly roasted coffee, properly ground, and prepared with the right technique, it can be every bit as good as coffee prepared in nearly any other method.
In fact, in retrospect I can say that the problem with most of the bad coffee I’d been served from a french press was any combination of the fact that the coffee wasn’t fresh, it wasn’t ground properly, and that the technique used to prepare it was wrong.
So, if you want to get it right and enjoy the best coffee from a french press, I’ve come up with what I think are the six essential steps. It’s very, very easy.
I’ll also note that some pros also recommend skimming the coffee after bringing it to a bloom (during step 4 below), but I think that’s a little too fussy for my taste. You’ll get an excellent cup of coffee even without skimming.
Here’s how we do it:
1. Boil The Water
Your first step is to heat the water. Ideally, you’d like the water to reach a boil at about the same time as you’ve finished grinding your coffee. Your grinds will start going stale after they’ve been ground so the sooner you start extracting the better. Once your water has reached a boil, remove it from the heat and let cool for about 15 seconds.
2. Grind
Grind your coffee at a very coarse grind. As always, I highly recommend using a burr grinder for the best results. I suggest using a 1:15 ratio of coffee to water. For example, when making for Kasey and I at home, I use 50 grams of coffee and about 750 grams of water. We use grams for our measurements because many coffee scales (including the popular Hario coffee scale and timer) measure in grams. Happily, 1 gram of water is equal to 1 milliliter water if you’d rather use milliliters instead of grams to measure your water.
3. Bloom
Add an amount of water roughly double your total amount of the grinds in a slow steady pour to bring the grounds to a bloom. For example, I add about 100 grams of water to 50 grams of coffee to create a bloom. The “bloom” is the term that explains the way fresh coffee grounds puff up when you add hot water to it. It occurs because your coffee is releasing C02 and other gases produced during the roasting process.
4. Wait
Wait about 30 seconds. You can stir the grounds using a spoon or chop stick to further develop your bloom before adding the rest of your water to the pot.
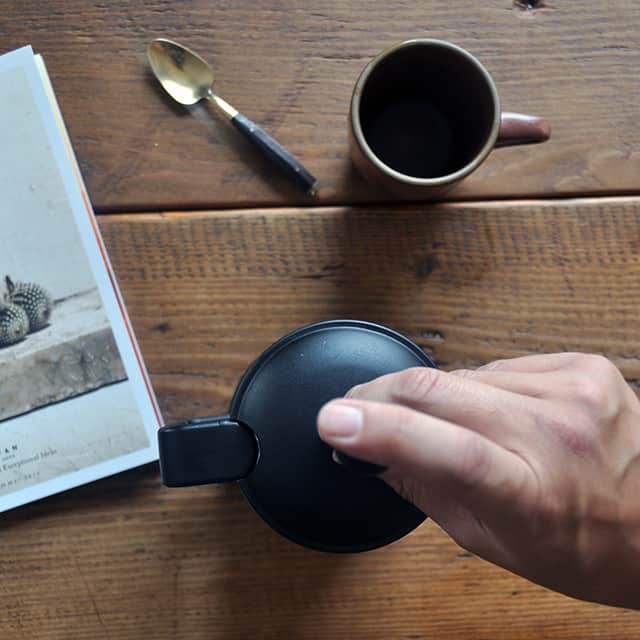
5. Plunge
Once you’ve added all of your water, set a timer for 3 1/2 minutes. When the timer goes off, add the lid to the pot and plunge the coffee with a steady, downward force. You’ll notice that I recommend leaving the lid off until you’re ready to plunge the coffee. Leaving the lid off while the coffee steeps allows the bloom to fully progress resulting in a better brew.
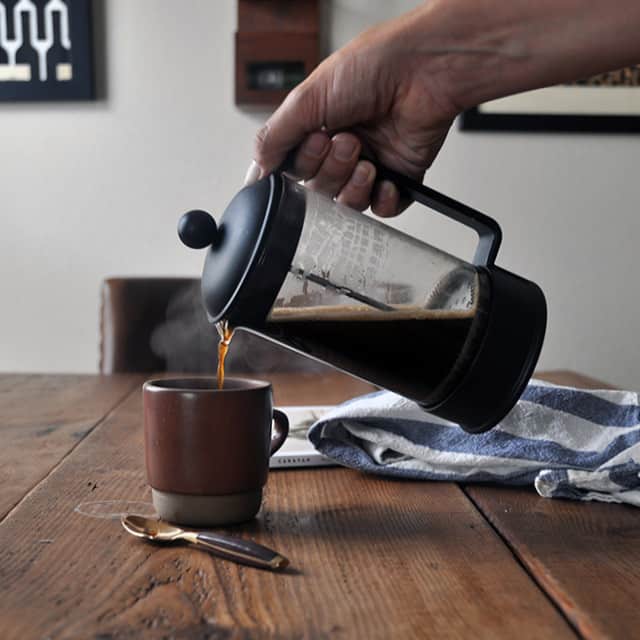
6. Serve
Immediately pour the coffee into serving mugs or a thermos. The longer you leave the coffee in the carafe with the grinds the longer it will extract. In other words, you want to separate your brewed coffee from the grounds as quickly as possible to prevent over-extraction.