It snowed in Seattle. On November 4th. I mean…I realize we left California for the PNW but this was something. There’s a part of me that really hates slowing down in any sort of capacity, but there’s a major upside to being slowed down by weather. It literally forces me to relax a little. And challenges me to do things I typically don’t do — like stay in all day.
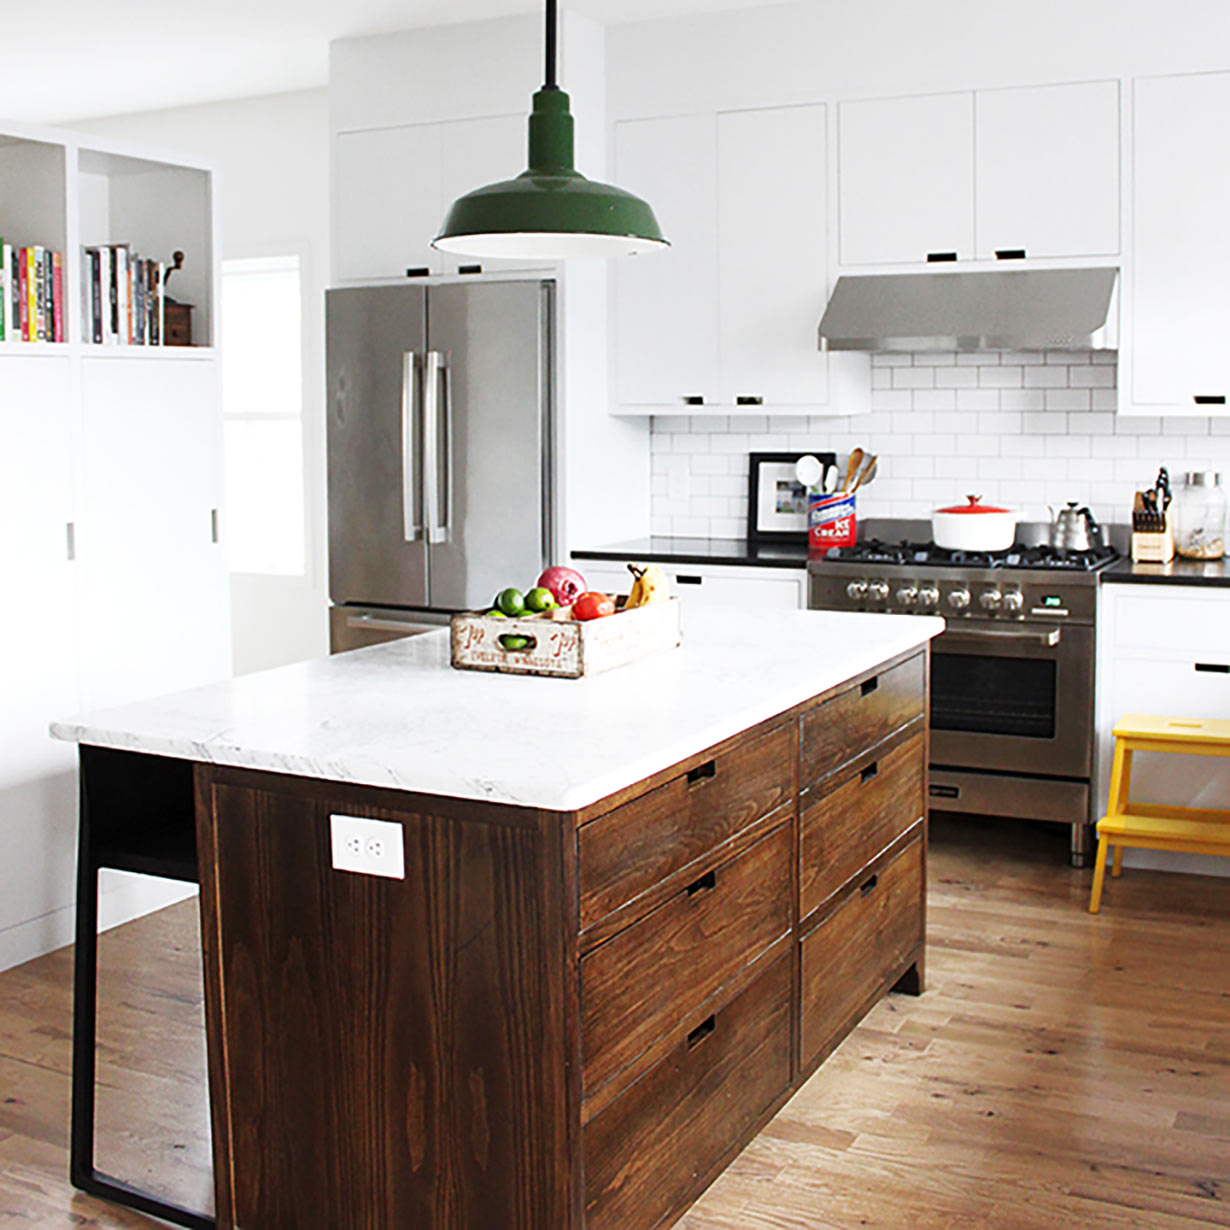
Kitchen sources (more on this soon!): Ultracraft Cabinetry, Rejuvenation hardware, Caesarstone countertops and backsplash in “White Attica” (installed by Granite & Marble Specialties), Vifa bluetooth speaker
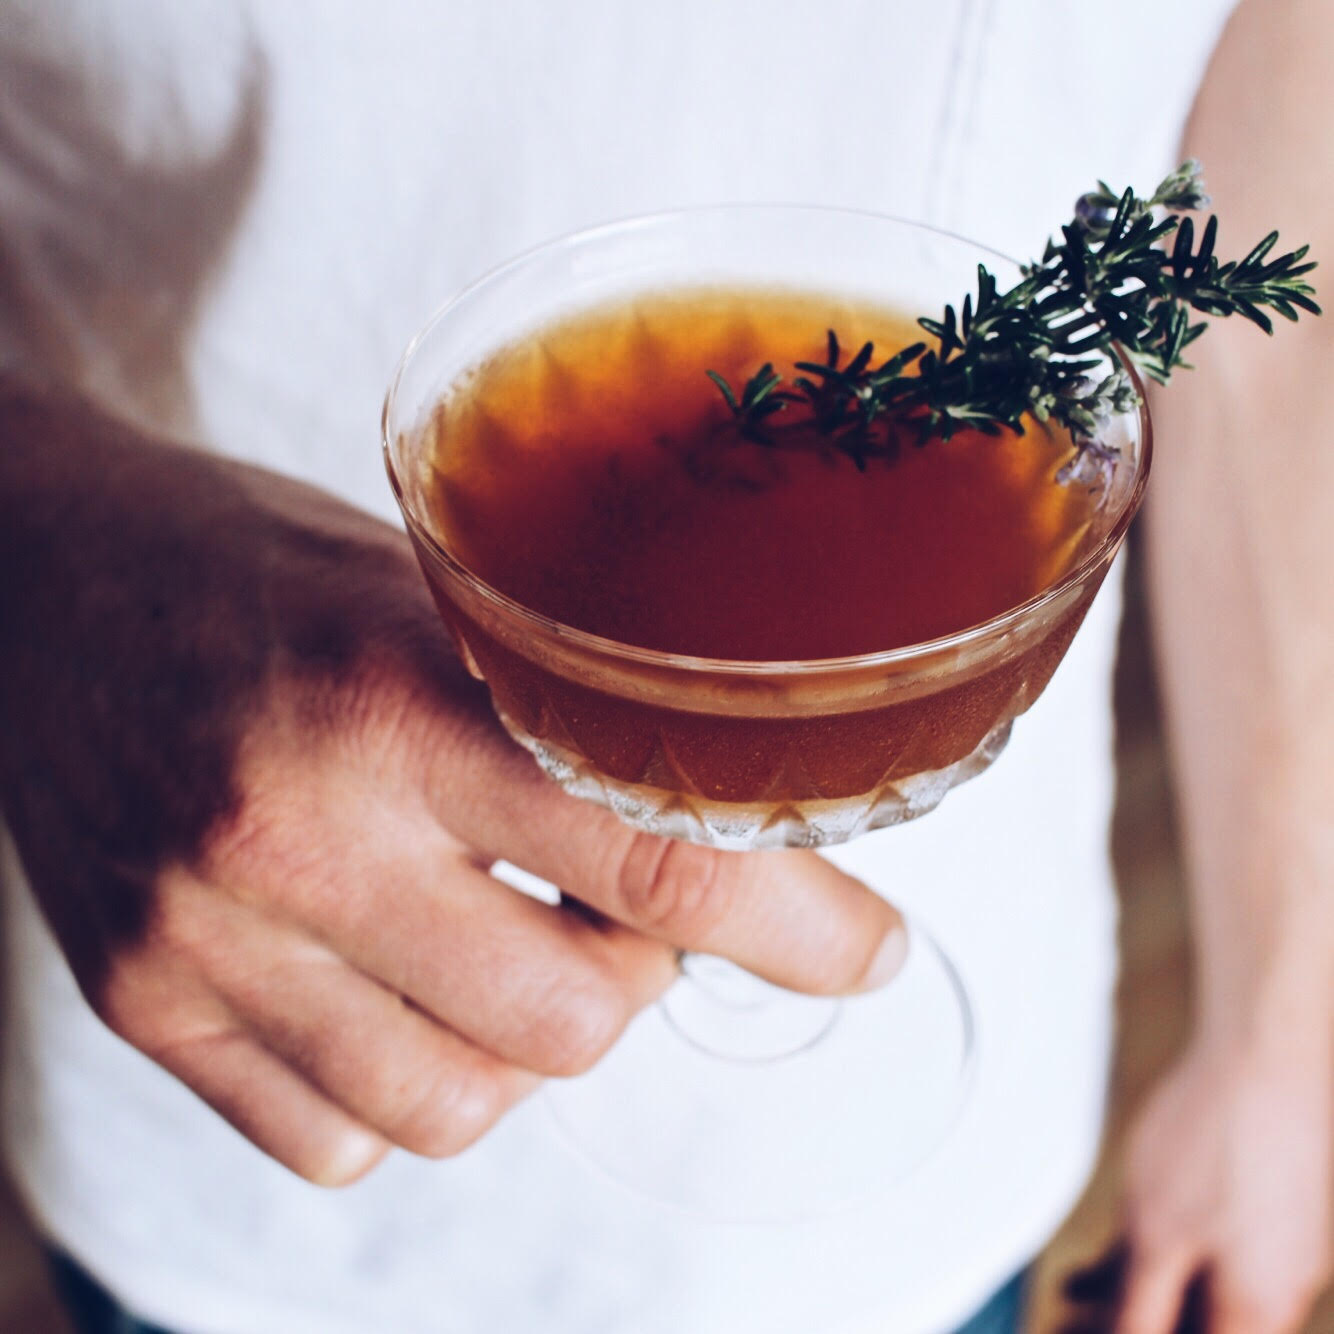
So this past weekend, aside from an outing to the Seattle Children’s Museum, we mostly stayed in. We did laundry, had not one but two fires in the fireplace, painted on the dining room table, put together a train set, and drank wine. I also restocked some of our spices because I’ve held on to some spices (like cloves and ground ginger) for YEARS past their expiration dates.
Even though my kitchen was out of commission for weeks, I still continued to pour over cookbooks, and now that the weather is chilly, I’m excited to get back into baking. Our new Bertazzoni gas range takes a little getting used to — there’s not a single digital element, and no internal thermometer — but I’ve baked on a number of occasions in it and it’s been GREAT.
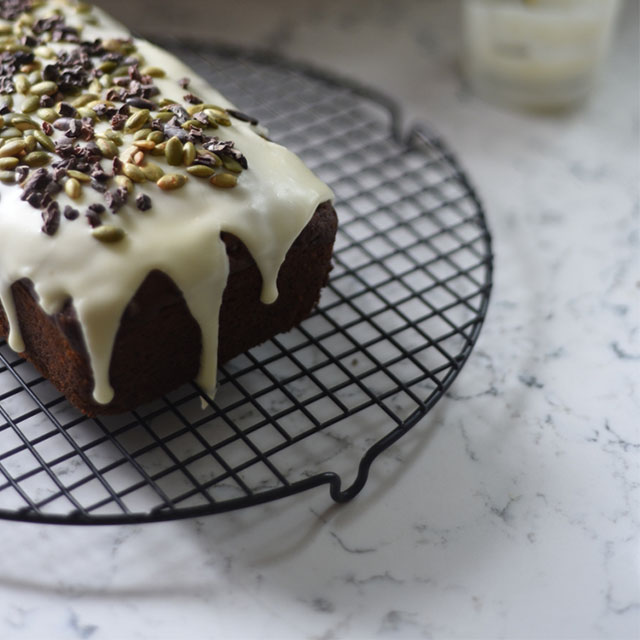
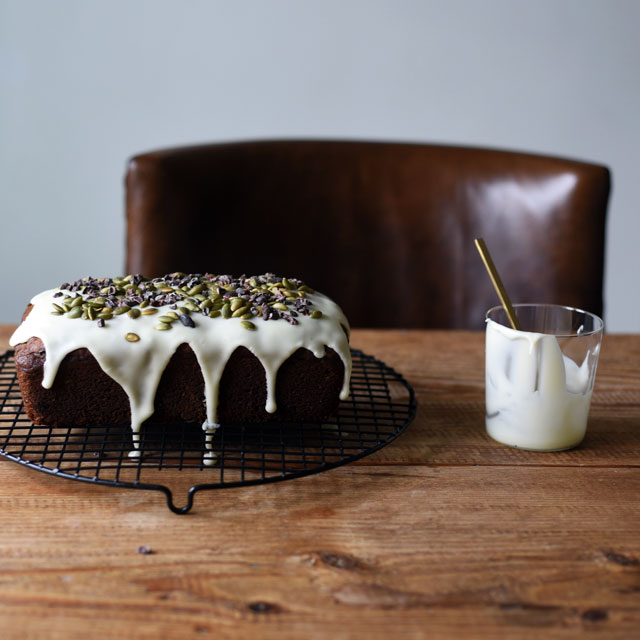
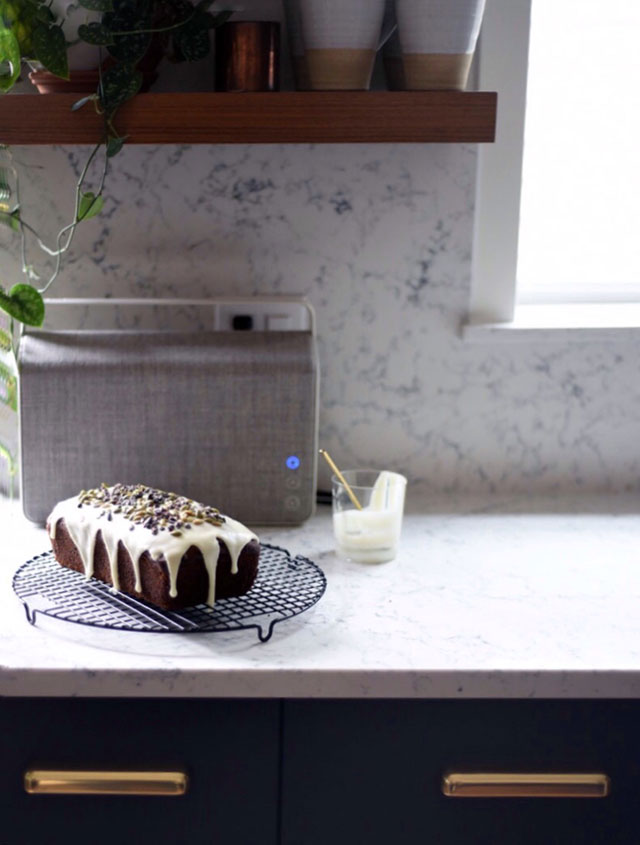
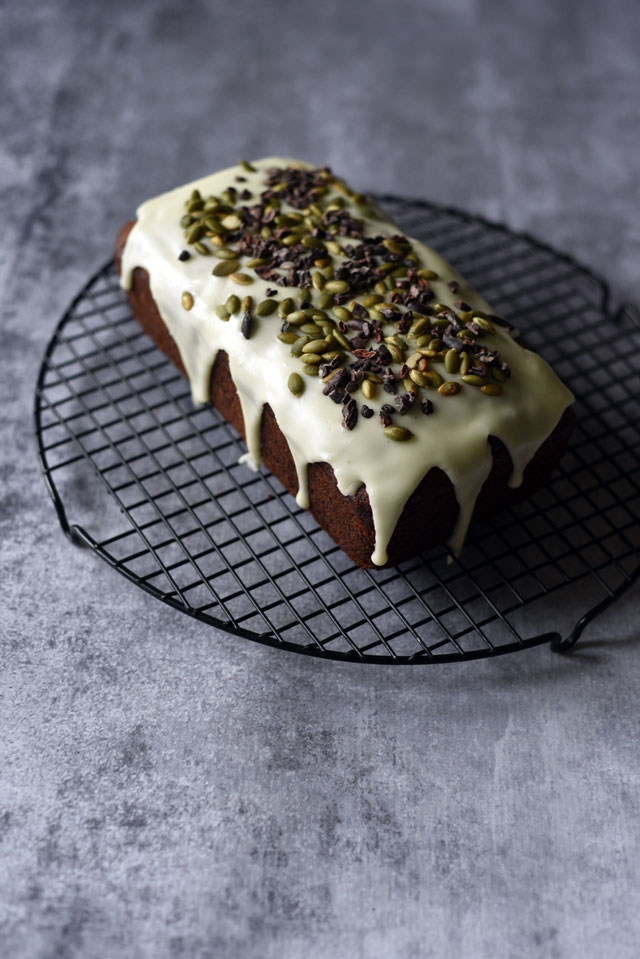
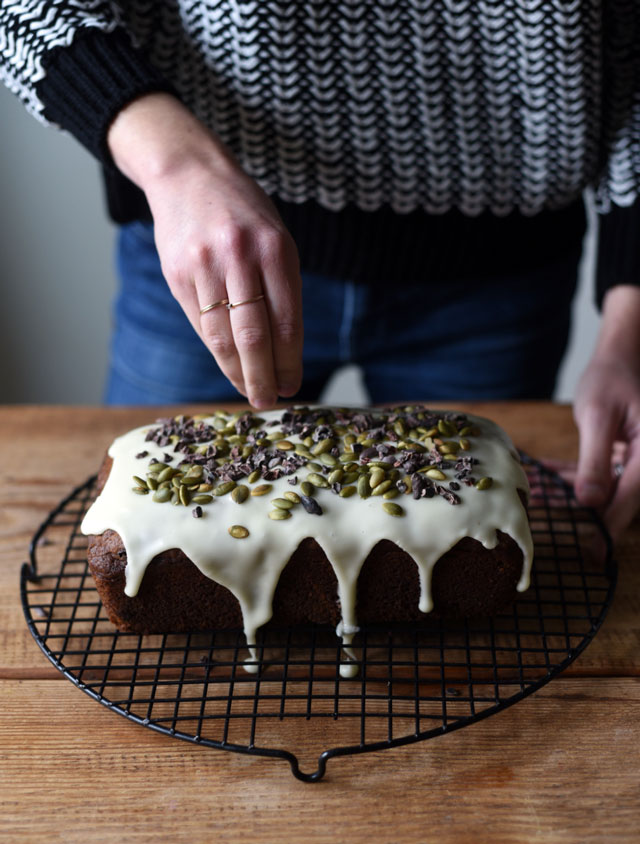
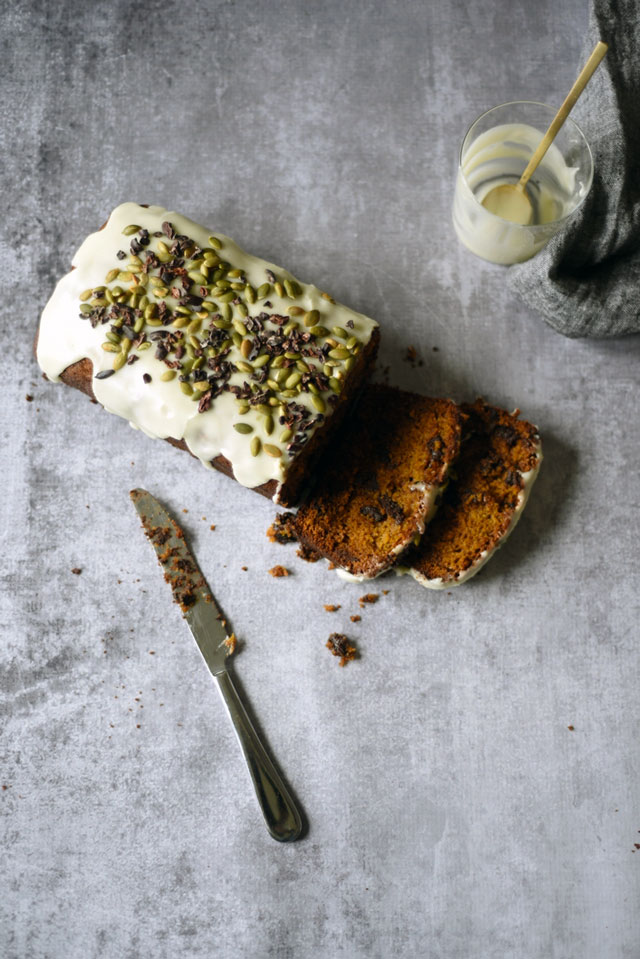
Last weekend, I came across my favorite of all squashes at the farmer’s market (kabocha) and it reminded me of a recipe I had bookmarked in the Gjelina cookbook: a kabocha squash tea cake topped with an olive oil glaze and sprinkled with cocoa nibs and pepitas. I decided that it was the perfect weekend project. This cake is definitely not what you’d call healthy. Although the chef / author suggests that you could skip the glaze to make it a breakfast treat, I think that even without the frosting, it still very much tastes like dessert. I’m known for my heavy hand when it comes to adding chocolate to any baked good, but despite this, I loved how the kabocha flavor was still strong.
Having made this, I have to say that if you’re short on time, you can absolutely skip the step of roasting and pureeing your own kabocha squash and simply use good organic canned pumpkin puree instead. I’ll also mention that the original recipe calls for the puree to be drained in a cheesecloth and despite mine hanging out overnight, I barely got any liquid out of it. So, quite honestly, I’m not sure this step is needed, but I’ve included it here regardless, in case your squash is more watery than mine. Lastly, I swapped all spice for nutmeg here. You can definitely play around with the spices —next time, I might add some cardamom!
This week, we’re giving Gjelina’s braised chicken a go. It might be too soon to say this, but I’m really feeling like I’m getting my groove back on in the kitchen.
Kabocha, Olive Oil, and Chocolate Cake
adapted from Gjelina: Cooking from Venice, California
1 one pound kabocha squash, seeded and halved
1 cup plus 1 tablespoon of extra virgin olive oil, plus more, for drizzling the squash
1 1/2 cups of flour
1 1/2 teaspoons of baking powder
1/2 teaspoon of baking soda
1/2 tablespoon of ground cinnamon
1 teaspoon of all spice
3/4 teaspoons of kosher salt
1 1/3 cups of sugar
3 large eggs
8 ounces of bittersweet chocolate chunks or chips
for the glaze:
1 1/4 cups of powdered sugar
2-3 tablespoons of hot water
3 tablespoons of extra virgin olive oil
cocoa nibs and toasted pepitas, for sprinkling
1. Preheat your oven to 425 degrees F. Dizzle each half of squash with olive oil, then place, cut-side down, on a baking sheet. Roast for about 35 minutes, or until the squash is fork-tender. Scoop the flesh out of the squash and puree in a food processor until smooth. Transfer the squash to a cheese cloth. Wrap tightly and set it into a colander fitted over a bowl. At this stage, you can let the squash drain any extra fluid (mine sat for about 8 hours and didn’t release any water, so I feel that this step is optional).
2. When you’re ready to bake the cake, generously butter a 9 x 5 inch loaf pan. Preheat your oven to 325 degrees F.
3. Transfer 1 cup of squash puree to a medium bowl. Add the sugar, olive oil, and eggs, whisking to combine. Add the flour, baking powder, baking soda, spices, and salt to another bowl, and whisk to combine.
4. Pour the squash mixture into the dried ingredients and whisk until just incorporated. Stir in the chocolate chunks, then transfer to the prepared loaf pan.
5. Bake for about 75 minutes, or until a toothpick inserted into the center comes out clean. Transfer the cake to a cooling rack. After about 20 minutes, run a knife along the edges to loosen the cake from the pan, then invert the cake from the pan and place it on a cooling rack for another 30 minutes or so.
6. Meanwhile, make the glaze by combining the powdered sugar and 2 tablespoons of water, whisking to incorporate. Drizzle in the olive oil, whisking until smooth. Add a teeny bit of water, if needed.
7. Drizzle the glaze over the cake and sprinkle with toasted pepitas and cocoa nibs. Let the glaze set before eating.