We’ve previously examined the benefits of preparing your coffee using the pour over method. If you’ve ordered a cup of coffee from a specialty coffee roaster such as Blue Bottle Coffee, Four Barrel, Stumptown, Sight Glass, etc. then you’ve probably tasted the benefits of pour over coffee. Basically, it just tastes better. That’s because pour over brewing allows you to control every aspect of the preparation. It’s the difference between cooking something in the microwave versus cooking that same thing on the stove top or in the oven. The microwave may be easier and more convenient, but the food you cook in the microwave usually isn’t as good as something that received more tender loving care. The same is true for making coffee with a pod machine or automatic drip.
Of course, even in the world of pour over coffee, the tools you use make a difference. We’ve tried numerous options to find our favorite cup of coffee, having compared Hario’s V60 ceramic cone, the Chemex drip pot, Bee House’s ceramic dripper, and Hario’s Woodneck Drip Pot (amongst others). By far, my favorite option has proven to be the Japanese-made Hario Woodneck Drip Pot (also known as the “Nel Pot” in reference to its flannel filter).
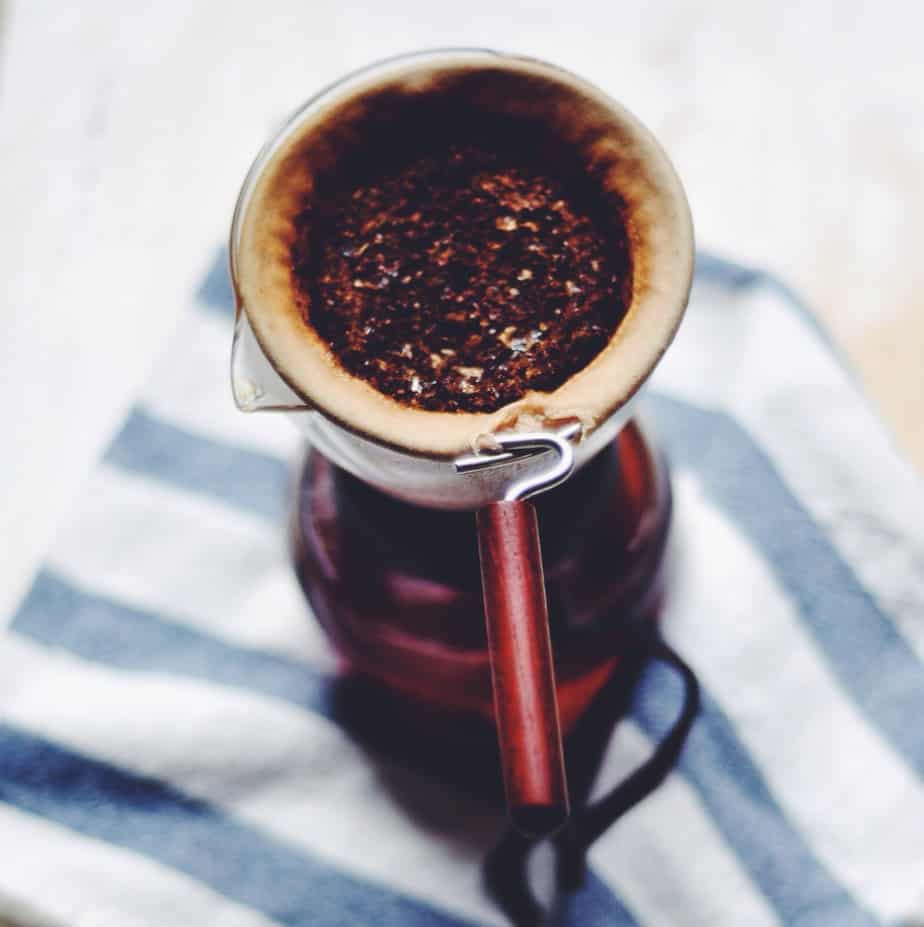
The Woodneck consists of a glass decanter, a wooden collar, and flannel filter attached to a wire ring. In side by side tests I’ve found coffee brewed in the Woodneck to be consistently brighter and more full-bodied than coffee brewed with a paper filter or metal cone. The flannel filter allows for an incredibly clean cup with excellent filtration without the papery tastes that come from paper filters. And to be clear, in our tests, the difference has been noticeable. The only disadvantage is that the flannel filter requires extra care to keep it fresh.
The Hario will accent the natural flavors of nearly any coffee you use. We recommend using a ratio of about 28 grams of coffee to approximately 330 milliliters of water heated to about 200 degrees. We also suggest using a medium-to-fine grind for the coffee grinds. Additionally, the first time you use a new flannel filter you should submerge it in boiling water for a couple of minutes. From there, the brewing process is similar to the process we described for pour-over coffee in general.
1. Rinse the filter with hot water.
2. Add the ground coffee to the filter. Give the filter a little shake to help the coffee settle into the filter.
3. Pour about 50-60 milliliters of the heated water to the coffee grounds in a slow circular pattern. The coffee should bloom up and appear active. Wait about 30 seconds before continuing.
4. Continue adding the remaining water to the grounds. The full brewing time should be approximately 3 minutes.
Afterwards, you’ll need to care for the flannel filter. There are many ways you can maintain the filters freshness, but this is the method I use. Once you’ve emptied the grinds, scrub it with a brush under hot tap water. Without letting it dry, place it in a ziplock bag and stick it in the fridge until the next use.