This is the second installment of our new coffee series. You can also read the first post about the difference between light and dark roast coffee.
It’s less convenient and more time consuming. Nonetheless, “pour over coffee” is the growing trend among coffee enthusiasts. What’s so special about pour over coffee? The best way to answer that question is to consider all the variables that affect the taste of your morning cup of coffee. The list of relevant factors includes, but is in no ways limited to, the location where the beans are grown, the care provided the beans as they are grown, the method in which the beans are roasted, how recently the coffee was roasted, how the coffee is ground, and, of course, the process in which the coffee is brewed. As you might imagine, each of these steps is more complicated than that list would suggest. For now, we’ll only consider that final step: the brewing process.
The flavor resulting from the brewing process is influenced by several factors: the way the coffee is ground, the water used (soft water vs. hard water, for example), the temperature of the water at the time it is added to the coffee grinds, the ratio of grinds-to-water used, the length of time at which the coffee is exposed to the water, the skill of the person preparing the coffee, and the tools used by that person. When you use an automatic coffee maker, you have little or no control over many of these factors. With pour over coffee and the right tools, you have control over nearly each of these variables. Thus, if you’re a particular about your coffee and like to play scientist, pour over is the best way to brew the perfect cup.
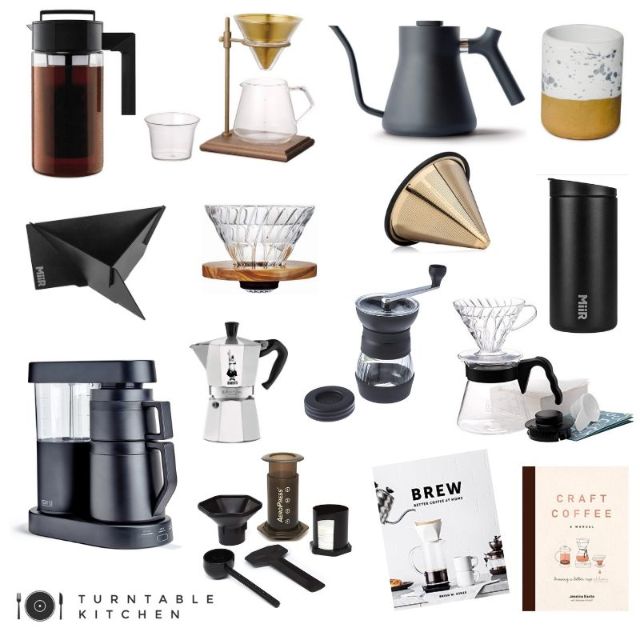
It’s easy to tumble down a rabbit hole of details when discussing each of these steps. As with each aspect of coffee preparation, the devil is in the details. For now, I’ll keep it simple and provide a high level list of steps for preparing pour over coffee at home. You’ll want the following tools: a scale, a coffee dripper (we have both the Hario V60 and Bee House Ceramic Dripper), and a kettle for boiling water (we recommend using a swan neck kettle such as the Hario Coffee Drip Kettle).
1. Pour cold water into a kettle. Most experts will tell you that “proper” brewing calls for a ratio between 10:1 to 15:1 of water to coffee. I believe the “best ratio” (i.e. the one that will produce the tastiest cup of coffee) varies depending on the coffee you’re using. When preparing a new light roast coffee in our home, I start with an 11:1 ratio and then adjust as necessary depending on the results of that first cup. If it’s a little weak, I tighten up the ratio next time or vice versa if it’s too bitter or strong. Thus, for 28 grams of ground coffee, I’ll aim for about 310 grams of brewed coffee.
Boil more water than your ratio calls for because some of the water you boil will be used to rinse the filter, some water will evaporate as your bring it to a boil, and some of your water will be retained in the coffee grinds after brewing. If you’re seeking an 11:1 ratio, for example, you’ll want to heat enough water for at least a 16:1 ratio (or about 150 grams of extra water). It’s better to heat too much than not enough.
2. Heat to 195-200 degrees. If you don’t want to get too fussy, you can bring the water to a boil, remove it from the heat, and let it cool for a few seconds (certainly less than a half minute) before adding it to the coffee. However, you can use a thermometer if you want to be exact. I started by using a thermometer but at this point I typically don’t bother measuring the temperature at home.
3. Place your dripper on top of your mug and place a paper filter inside. Rinse the filter with hot water from the kettle. This neutralizes some of the flavor that the paper filter would otherwise add to the coffee while simultaneously preheating both the dripper and coffee mug. You just need to use enough to soak the filter. Let the filter drain and then pour out the water that collects in your mug.
4. Add freshly ground coffee to the filter. The specific grind setting you’ll want to use will vary based on the specific dripper your using, the coffee you’ve selected, and and the grinder you’re using. Generally speaking, you don’t want the coffee to be ground too finely because it can result in clogging the filter and slowing the rate of extraction. I’d personally prefer to err in favor of using coffee that’s been ground too coarsely. If you’re using a burr grinder I’d recommend beginning with a setting on the coarse side of medium. You can always adjust for the next cup if your brew is too bitter or too weak.
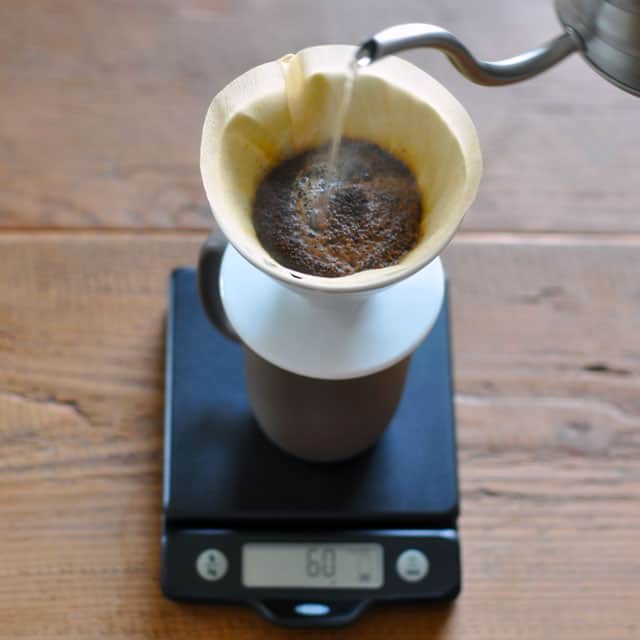
5. Begin pouring water slowly into the grinds in a circular, clockwise motion. It’s easier to pour the water slowly and at a controlled pace with a swan neck kettle. Begin from the center of the mound of grinds and move outwards toward the edges of the dripper pausing when the water to coffee ratio in the dripper is about 2:1 (twice as much water as coffee grinds). If you’re using freshly ground coffee the grinds should be active and appear to “bloom” up. Wait approximately 30 seconds before continuing.
6. Continue to add the remaining water in a slow and controlled clockwise stream. Avoid the impulse to add the water too quickly and flood the dripper. Once you’ve added the enough water to achieve the ratio you’re going for you’re done. Remember that the grinds will retain some of the water you’ve poured in, so you’ll need to add slightly more water than your ratio calls for.